In this blog, I want to talk about how to setup Ubuntu environment (WSL) in Windows 10 system, where you can run Linux programs.
1. Setup Linux subsystem in Windows 10
- In Windows 10, go to Settings -> Update & Security -> For Developers, select Developer Mode under “Use developer features”.
- Navigate to Control Panel -> Programs and Features, Click “Turn Windows features on or off”, and toggle “Windows Subsystem for Linux” to on and click OK to return.
- Restart your computer to take effects.
- After restart, open Bash by searching it in search box, and type “y” to install the linux subsystem.
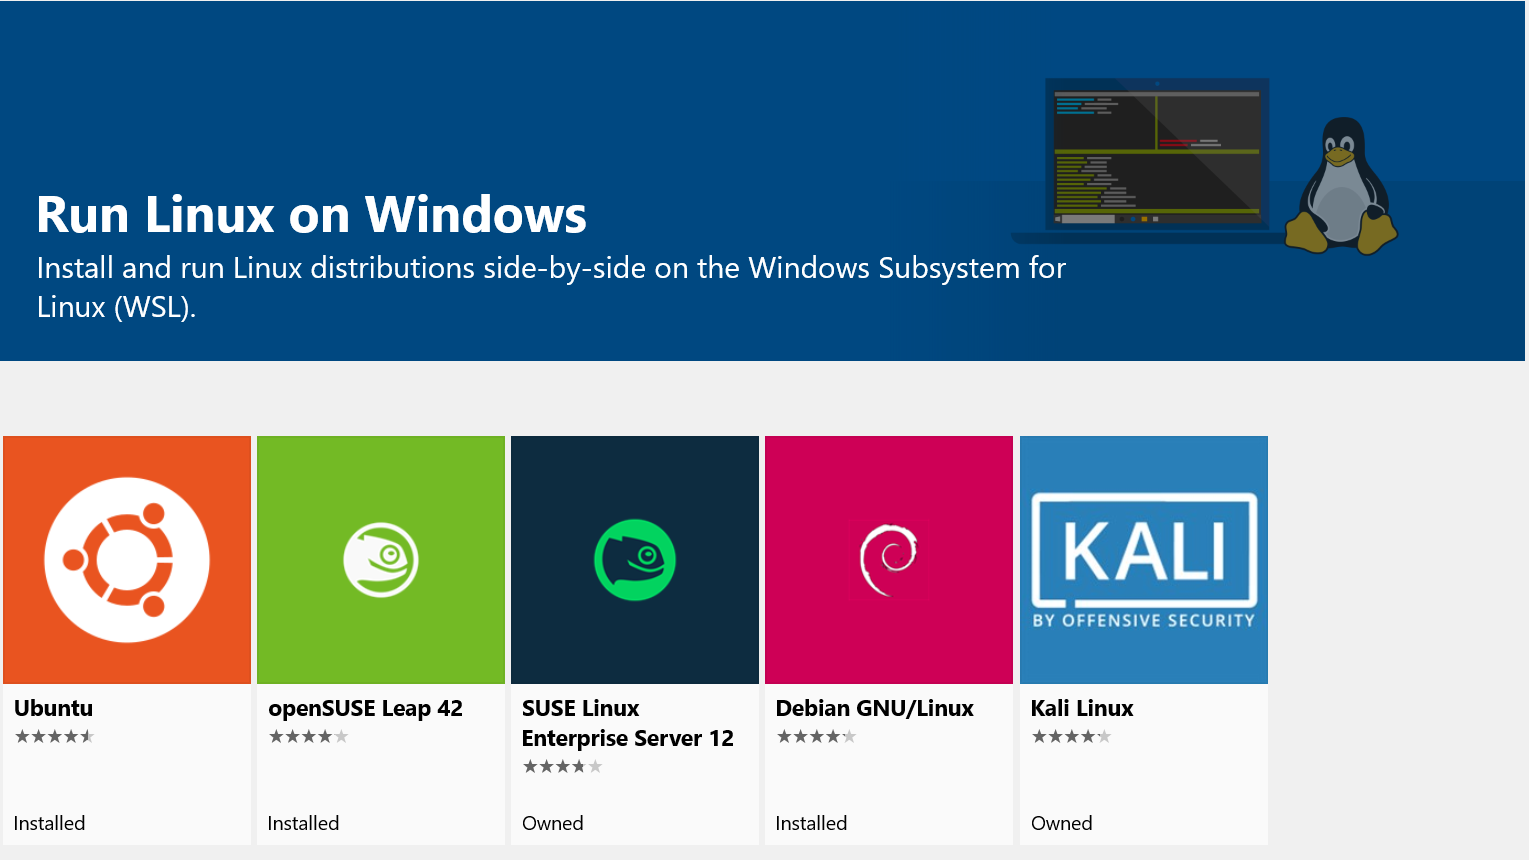
Note that sometimes you will be prompted to go to Microsoft Store to download and install it, then choose ubuntu in the store and click “Get” to download and install.*
- Create a user name and password for an account.
- If everything goes successfully, you should be able to run common linux commands such as
clearandlsin the Bash.
2. Install necessary libraries in WSL
- Open Bash in Windows 10, and update our repo lists and packages
sudo apt-get update -ysudo apt-get upgrade -y